


DIY Hondata Intake Manifold Gasket for k20a3
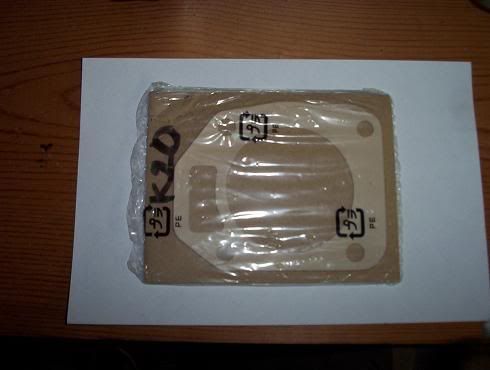
Product: Hondata intake manifold gasket/phenolic spacer
Summary:
One of the main enemies of power on a combustion engine is heat. The purpose of the hondata img is to stop transfer of heat from the head of the engine onto the intake manifold by effectively reducing intake air temperature. Generally, these have been dyno tested to provide anywhere from 5-7 percent hp increase on average. With the gasket only being $50-$65, it is a fantastic bang for your buck, however any shop install charges usually negate that. This DIY will make the mod very cost friendly.
For more FAQ about the product refer to http://www.hondata.com/heatshieldgasket.html
Disclaimer: Don't attempt this install if you think you will be rushed. If following these guidelines expect a 2-3 hour install on average. It may go sooner, but there is no need to race through this install. If you have the stock intake box, this guide will not cover removal of it due to me having an aftermarket intake. The stock airbox removal will make the install a tad longer. If you want an ascii version of this, pm me your email and I'll send you a copy to print.
Difficulty level (1-10): 6
Make sure the car is completely cooled down and the valve cover is cold to the touch. I suggest letting it sit overnight.
Supplies:
- 1 Hondata intake manifold Gasket
- 3/8'' drive tq wrench
- Thin tipped flat head screwdriver
- 3'' ratchet extension
- 6'' ratchet extension
- 1 pair of needle nose pliers/ regular pliers
- 3/8'' drive Universal Joint (swivel socket)
- 2, 12mm open end wrench
- Sockets 10mm, 12mm (deep and shallow)
- 1 12mm snap on magnetic socket (bought online for $25) BEAUTIFUL
- 1 oem Throttle body gasket (completely optional. Part numbers in pics)
- 1 Jack + 2 Jack stands
Procedure:
- Remove the I-vtec cover. 2 10mm bolts
- Remove the I-vtec cover brackets using a 3'' or 6'' extension. 2 10mm bolts
- Remove the intake tube and rubber coupling from the throttle body.
*Note: You may possibly have to remove the battery if you are using an intake other than AEM/Fujita. Battery cable nuts are 10mm.
- Unscrew the throttle cable and cruise control cable from the bracket and reposition them out of the way.
- Remove the throttle cable bracket completely. 2 10mm bolts.
- Remove Evap hose, pcv hose, and other applicable hoses connected to the intake manifold with the thin tipped flathead screwdriver. Be careful not to tear them.
- Unclip the plugs from the top of all four fuel injectors and remove the ground bolt with a 10mm socket.
- Use the flathead screwdriver to pull out the tabs and remove the plastic garnish on top of the fuel rail.
- Remove the 10mm bolt on top of the throttle body that is connected to the garnish.
*Note: After pulling the complete garnish out of the way, screw the bolt back into the manifold so it isn't misplaced.
- Unplug the sensors on the throttle body. There are 4 total. The bottom plug is covered by a rubber grommet.
- Remove the 2 nuts and 2 bolts at each corner of the throttle body. All are 12mm.
- Gently tug the throttle body and pull away from the intake manifold.
*Note: With an old rag and smidge of brake cleaner, wipe clean the insides of the intake manifold and throttle body. There are probably lots of carbon deposits. Now we must release the fuel pressure.
- Take the gas cap off and hang it on the door.


 Reply With Quote


Bookmarks