


Figured I'd go ahead and post one of these back up. I'm sure I probably missed something, so if anyone notices something let me know and I will update.
Materials:
-Aircraft stripper
-VHT wrinkle red paint (SP204...this can be ordered at any O'Reilly's and its usually there next day)
-Masking tape
-Rubber gloves
-Newspaper
-Sanding block or file (with 600 grit to 1000 grit paper)
-6mm socket
-10mm socket
Valve cover removal: Remove dipstick. Remove the coilpack cover (4 6mm nuts). Remove the intake manifold cover, 2 10mm bolts (if applicable). Remove the breather hose from the valve cover. Now start removing the valve cover. Use a 10mm socket to remove the coilpacks, once these bolts are removed the coilpacks pull out and unclip the electrical connector.
Start removing the valve cover by removing the 6 6mm cap nuts. Try to do this while the engine is cold, these nuts are small and heat can cause the screws to turn or worse yet warp. Pull up on the cover, shaking while pulling seems to work best.
Once the cover is removed, inspect the rubber gasket and determine if it should be replaced. If it's in good shape pull it out and set it aside.
DO NOT use any sharp object to try and remove the cover, this could tear the gasket or you could end up scaring the head which could lead to an oil leak!
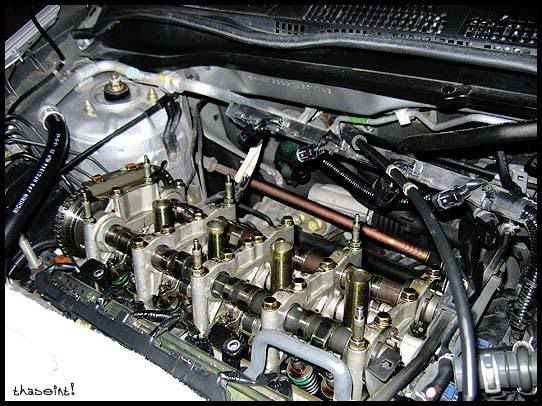
Here's a shot of the cover removed
Prep: Now with the cover removed, begin prepping the surface. Wash the cover in dish soap and water to remove any trace of oil. Cover up the plug holes with some masking tape (there are some rubber boots in these holes that could potentially be ruined during this step).
Begin spraying the cover down with aircraft stripper, after a couple minutes the old paint will start to bubble and you can scrape it off. Use some sandpaper to remove as much of the old paint as possible. It's not all that important that ALL of the old paint is gone; but more so that the new paint will have something to stick to.
WARNING: Wear gloves when working with aircraft stripper. This stuff burns like crazy if it gets on your skin!
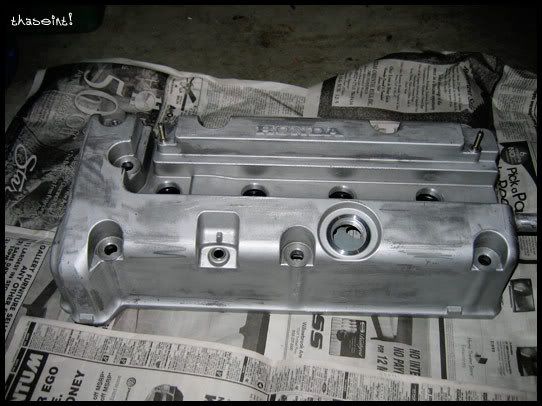
Here's a shot of my prepped cover
Painting: Begin masking the valve cover. I ended up masking the oil fill hole, the spark plug holes and a portion of the breather tube connection. Plain masking tape will work in this case...nothing fancy. You can try masking the "Honda" logo; but its not necessary and you'll see why.
Once things are masked off, go ahead and start spraying. Here's some tips:
-Make sure the ambient temperature is at least 75ºF and low humidity.
-Spray at least 6" away and don't stay in one spot. Keep the can moving and make sure everything is even.
-Do a liberal spraying for the first pass.
-Every coat after the base coat should be light.
-Add a coat every 10 minutes
-I personally used a whole can; however you could really get away with about 3/4 a can.
After the you've finished with all the painting, let the cover dry for at least 24 hours, or if you can swing it 48 hours would be best.
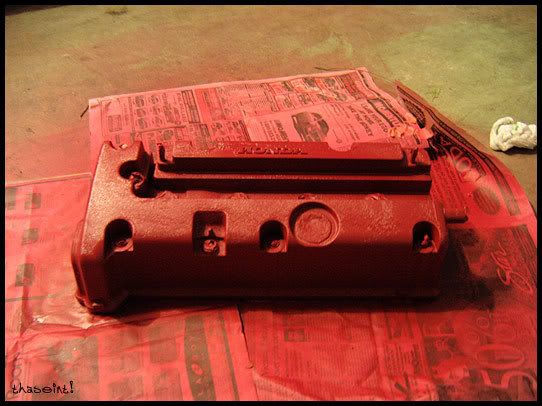
Picture of my cover during paint dry.
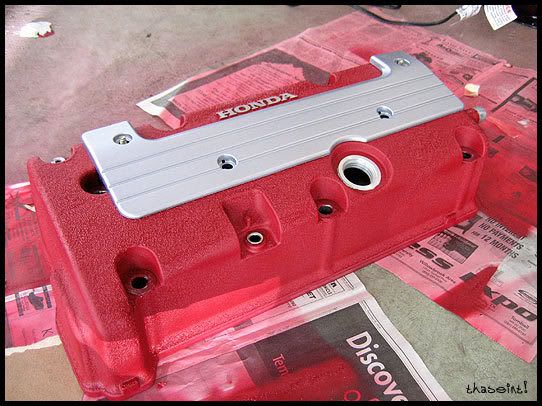
Post paint: Remove all of the masking tape. Now remember when I told you not to cover up the "Honda" logo? Here's why, bust out a sanding block with some 600 grit paper and simply file away the paint. Since the "Honda" logo is raised the sanding will only remove the paint on the logo. Just be careful that you don't accidentally slip while sanding. Follow-up with some 1000 grit paper to clear up some of the sanding marks.
Dried and ready to fit.
Reinstall cover: Begin by lubricating the valve cover gasket with oil and reinstall into the cover. The shop manual says to use Hondabond on the rear passenger side corner; however I didn't do this and I have had no problems with oil leaks (do at your own risk).
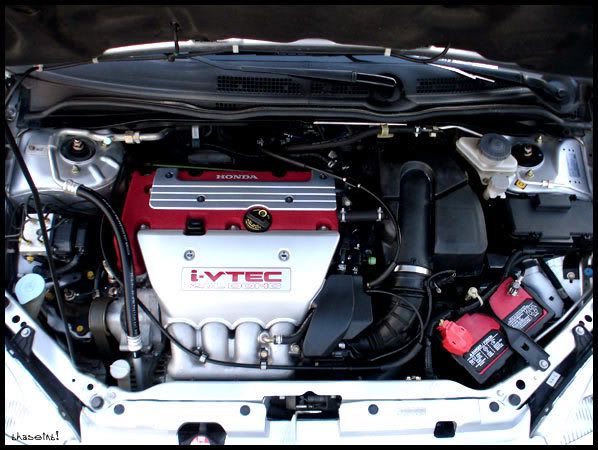
Finished fitting.
What to expect? Over the next couple days of driving you might notice a paint smell. This is just the paint curing and it will go away after about 2 days...just try and drive with the windows down and you'll be alright.
Pop the hood after at least 100 miles of driving and check for leaks.

 Reply With Quote


Bookmarks