


So, I was fed up with my sub and other cargo bouncing around the trunk on the flimsy board that sits under the stock carpet. Here's how I solved it:
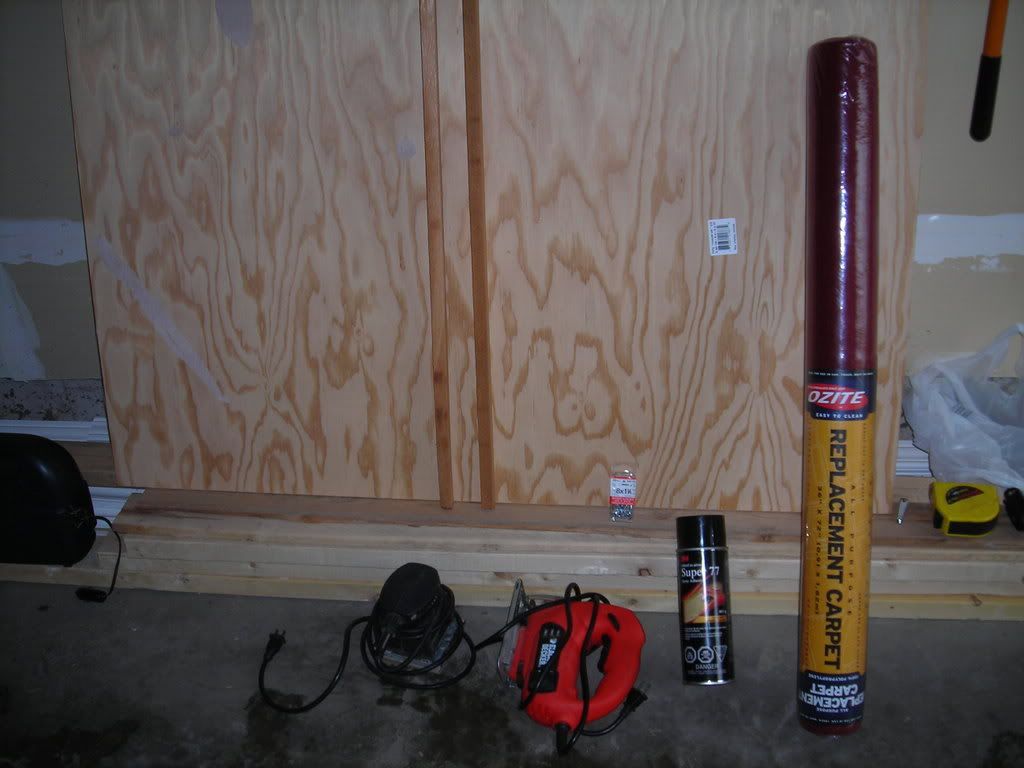
What you need:
-piece of plywood (gis) or mdf board (1/2" thick) that is 48" x at least 32"
-spray adhesive
-carpet (try a stereo shop that does custom installs)
-1 cedar nailing strip, or similar wood that's around 1" square and 48" long
-12 wood screws, #8 x 1 1/4"
-drill with a bit about the size of your screws and counter-sink bit
-sharp knife (breakable utility knife works great)
-sander or sand paper
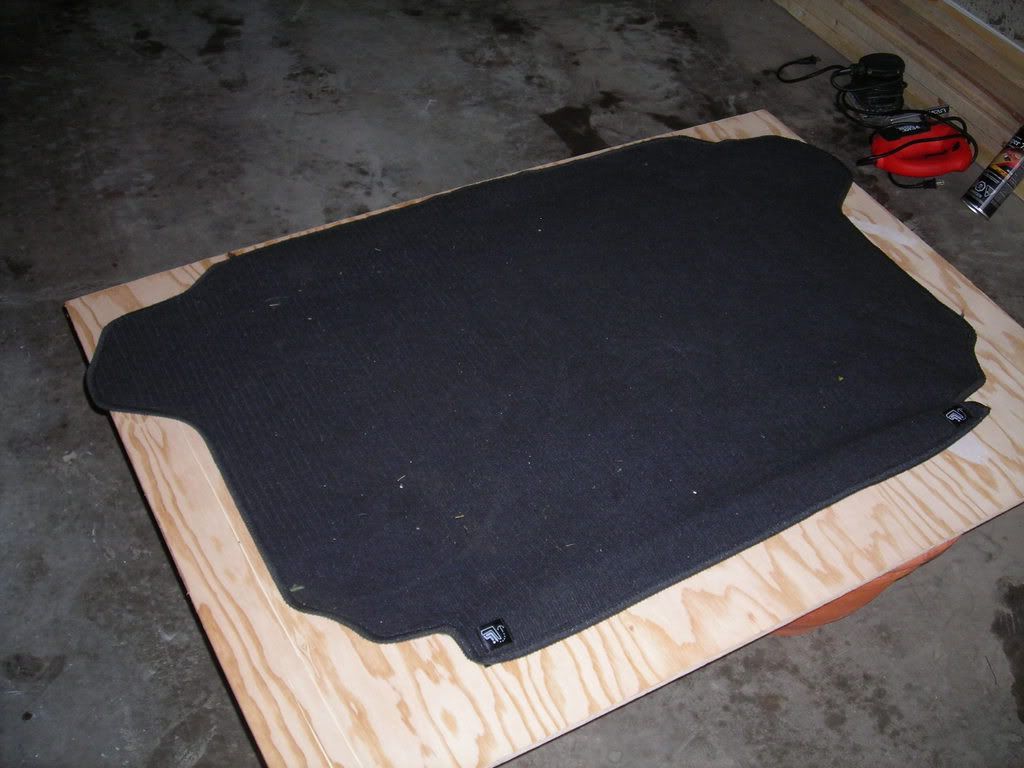
1. Fold down your back seats. Remove your stock trunk liner. Be careful with the clips securing the carpet behind the seats, I broke mine off accidentally.
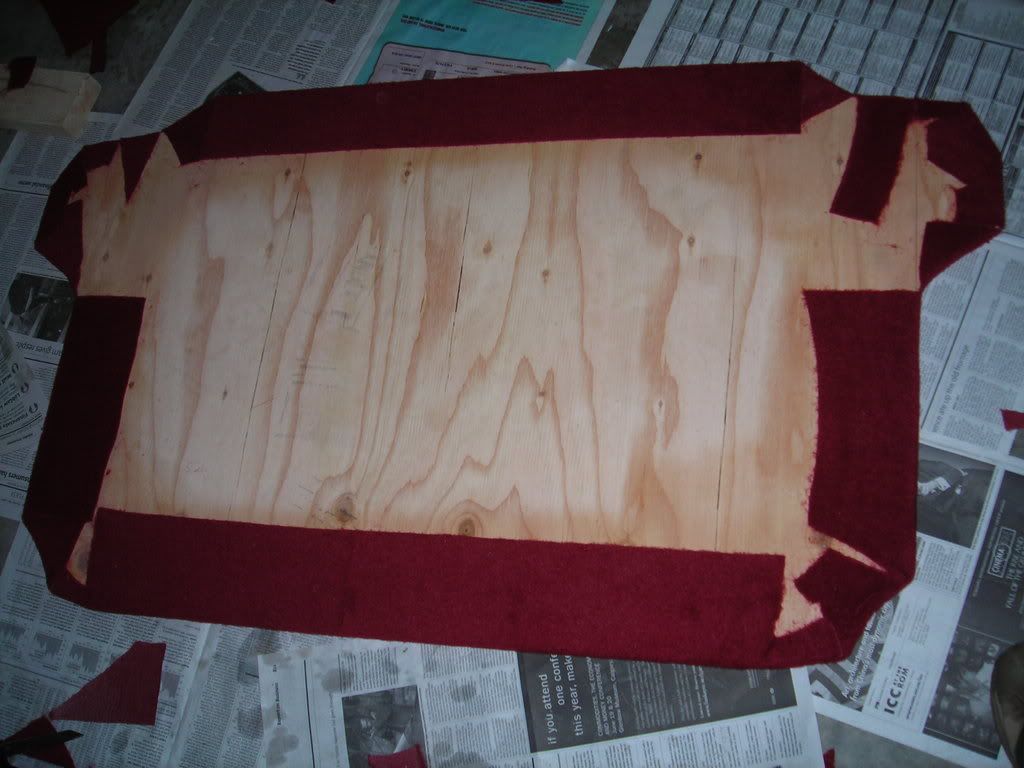
2. Trace your carpet or your sound insulation onto your wood of choice. I used plywood because it was lighter than MDF. Don't worry if the edges of the widest part of your carpet hang off the wood. Just center it.
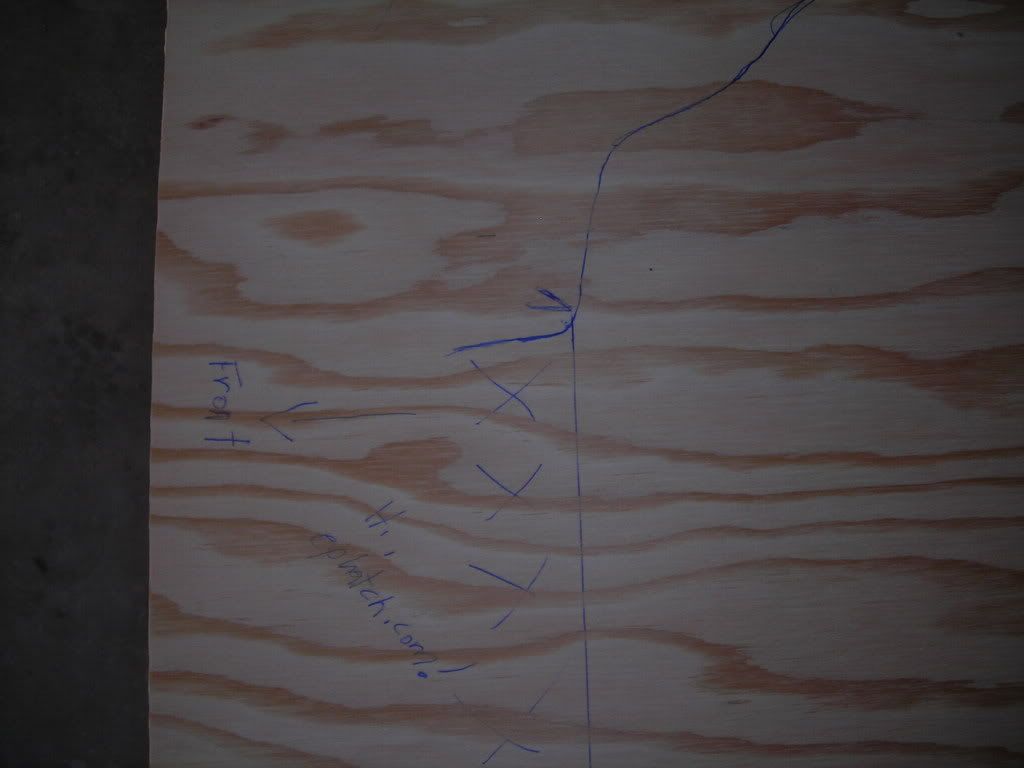
This pic shows where I ran a straightline across the part that will go up to the seat. MY MISTAKE WAS CUTTING IT SHORT so I have a small (3/4") gap at the seat.
3. Using your jigsaw, cut out the shape. You should cut inside the line if you can, you will be shaping this down a bit to fit. You will need to cut the little humps that stick into the widest corner of you trunk. I could not get the liner in the hatch with these pieces on!
4. Now you can get as anal as you want fitting your piece. Put your piece into the trunk and see how it fits. You probably have to slide the back in first, then drop the front of the liner down. Mark spots with a pencil/marker where you need to sand or re-cut. I was hungry so I didn't spend more than 20 minutes doing this step. Then sand the edges smooth, and bevel the corners a bit so that your carpet will wrap around easier.
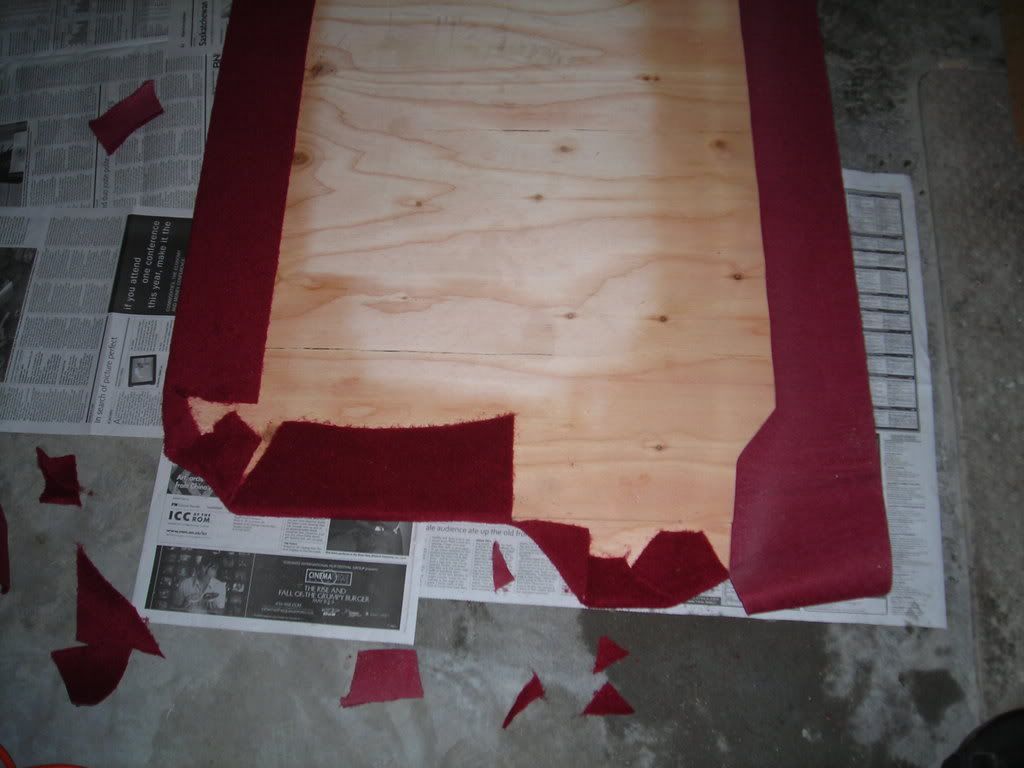
5. Cut your carpet to be about 6" larger than your trunk liner. Cover the good side of your plywood with spray adhesive. If you want to really stick the carpet, spray the underside of it, too. Stick carpet onto board, and spread it out, stretching it towards the outside of the board.
6. Turn the project upside down, placing carpet side down. Apply adhesive to the little pieces you cut off in step #3 and stick them onto the carpet. IF YOU WANT you can take the time to hinge these pieces properly. I just let the carpet do the job (I was hungry).
7. Spray adhesive on the underside and edges of the wood. Fold the carpet over, making sure to stick the edges really well. You can spend as much time here making it pretty, if you want, but it won't show.
Make sure you cut the carpet on the bottom side to allow the pieces to hinge!
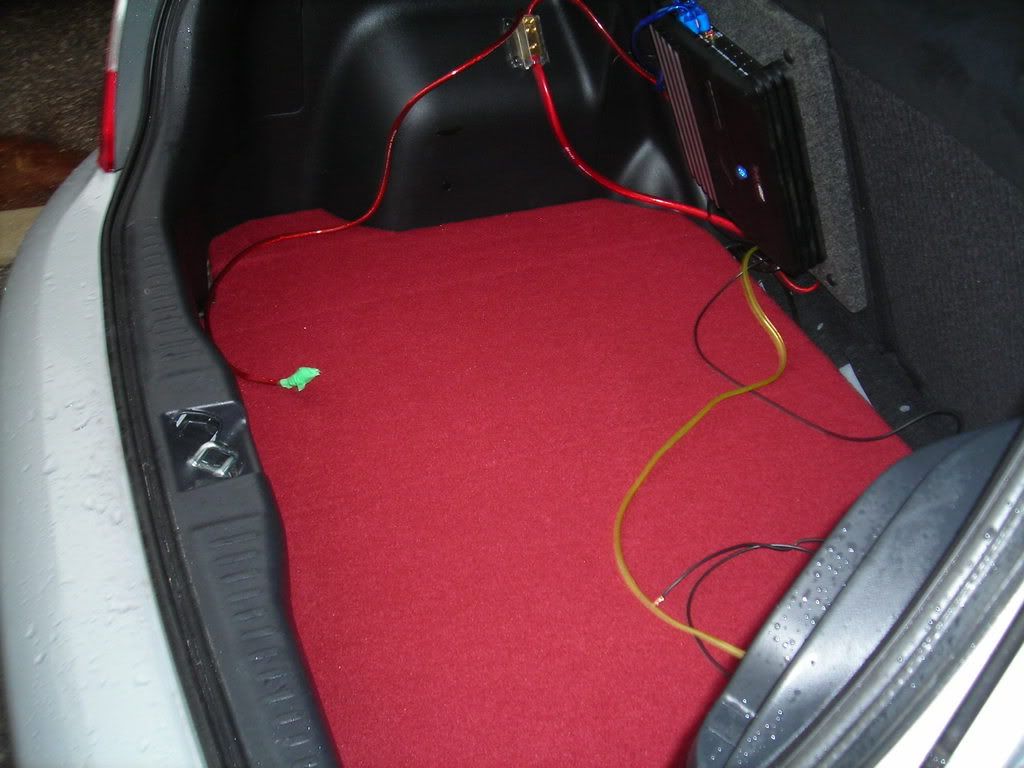
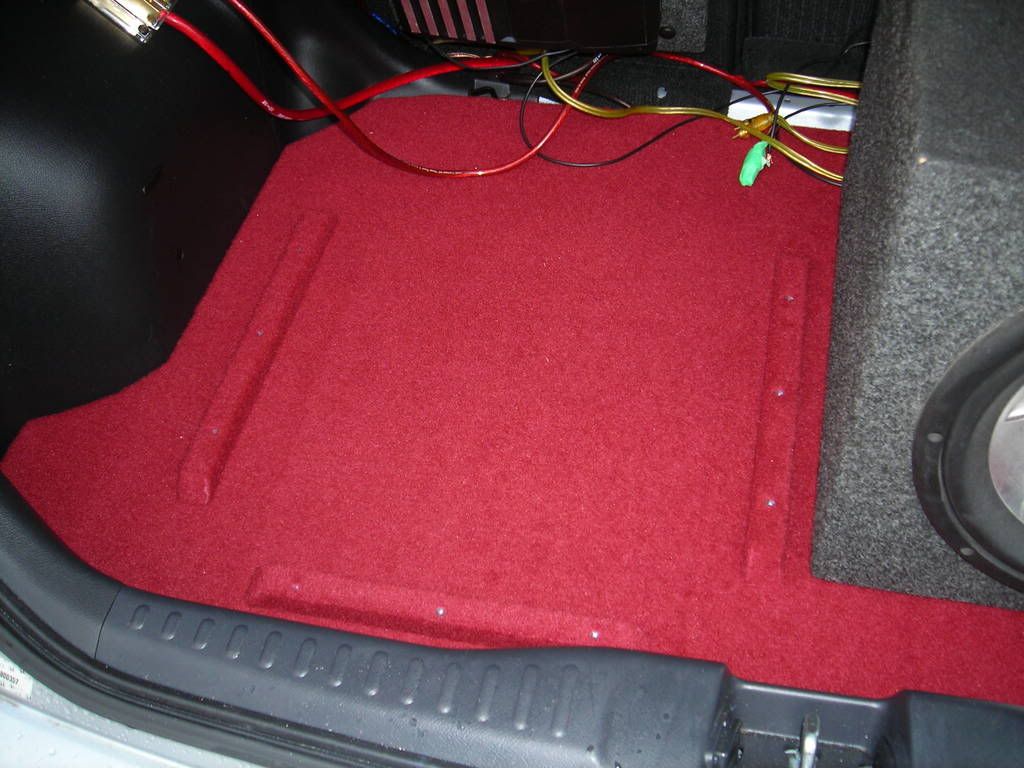
8. Next I used my spray adhesive to stick the factory sound insulation on the bottom of my liner. I stuck the smooth side to the wood, then trimmed up the edges. Finally, I cut the insulation to allow the corners to fold up. Here it is in my trunk:
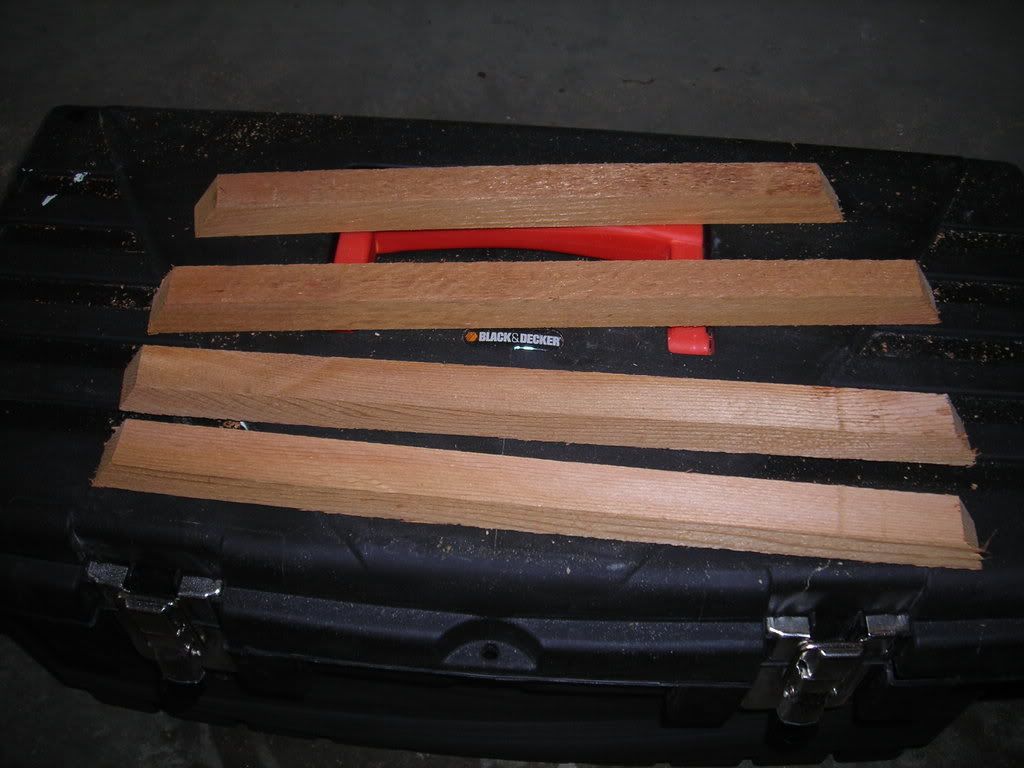
9. To make the rails to hold your sub from sliding, I cut the cedar nailing strip into approximately 12" pieces with an angle cut on each end. I drilled and counter-sunk 3 holes into each, and then sanded and carpeted all but the bottom side of the rails. I only used three rails after screwing one up.
10. I used my sub as a guide to help me position the rails. If you're patient, you can hide the screws by gently slitting the carpet where the holes are and pulling it back to allow the screw heads to sit underneath. I was too hungry by this point to care.
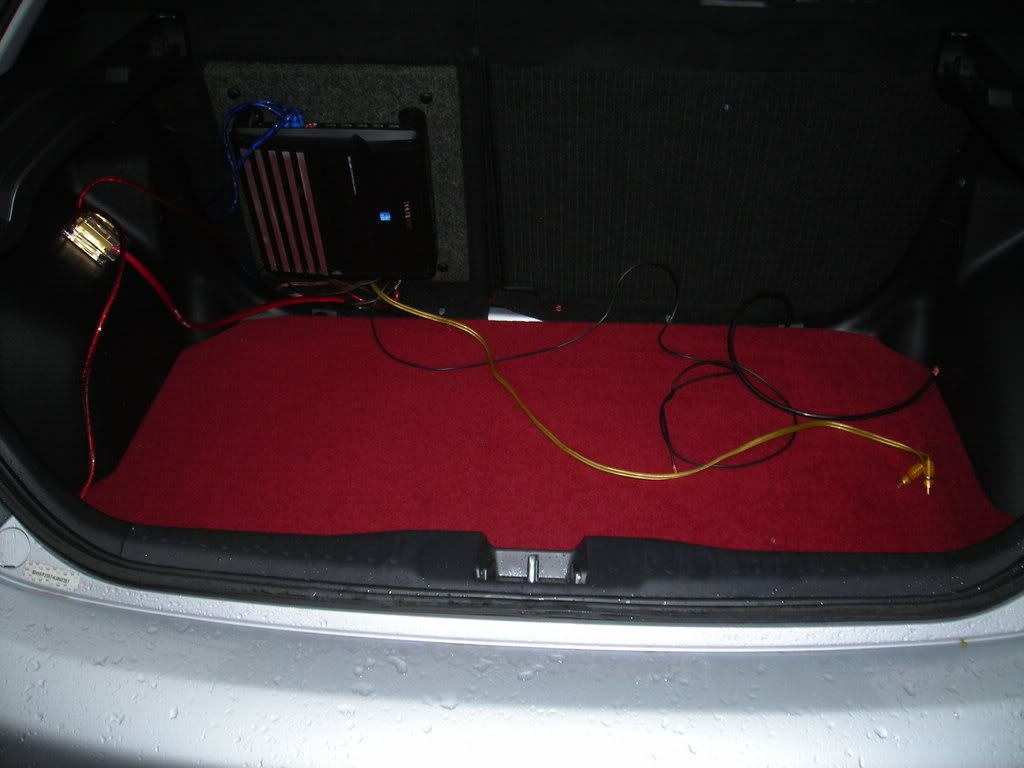
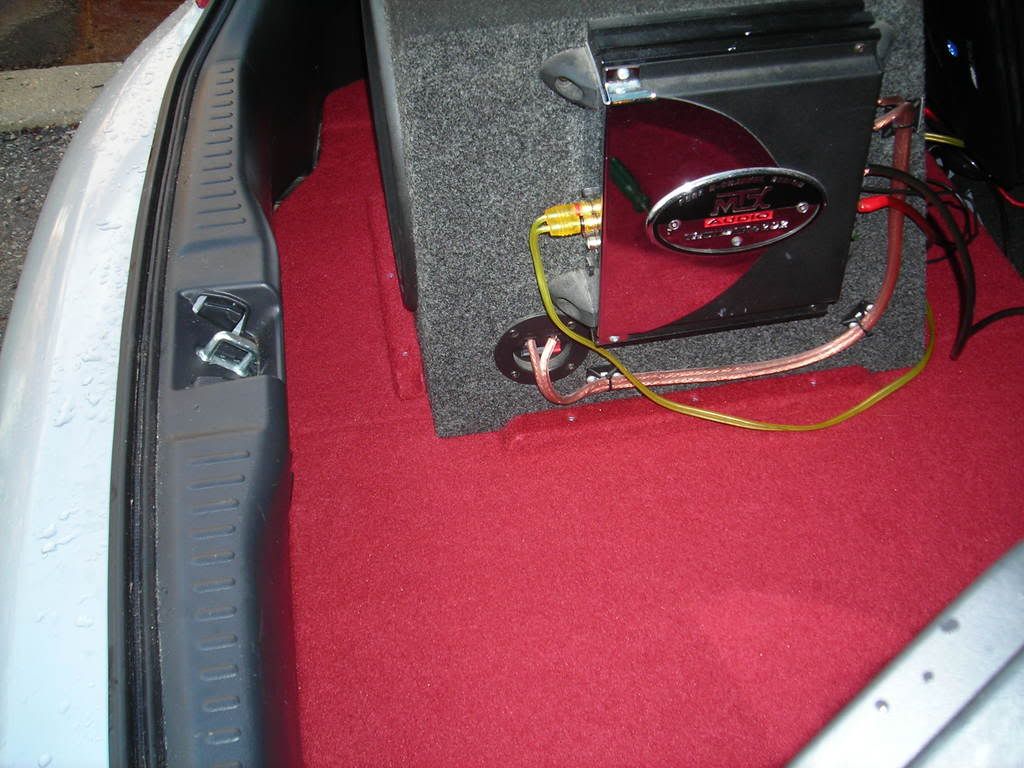
Here is the final product!
NOTE: I know the sub amp shouldn't be attached to the sub... not good, but I haven't had time to fix/finish my stereo install since I got the car. The wires are also a mess.


 Reply With Quote


Bookmarks